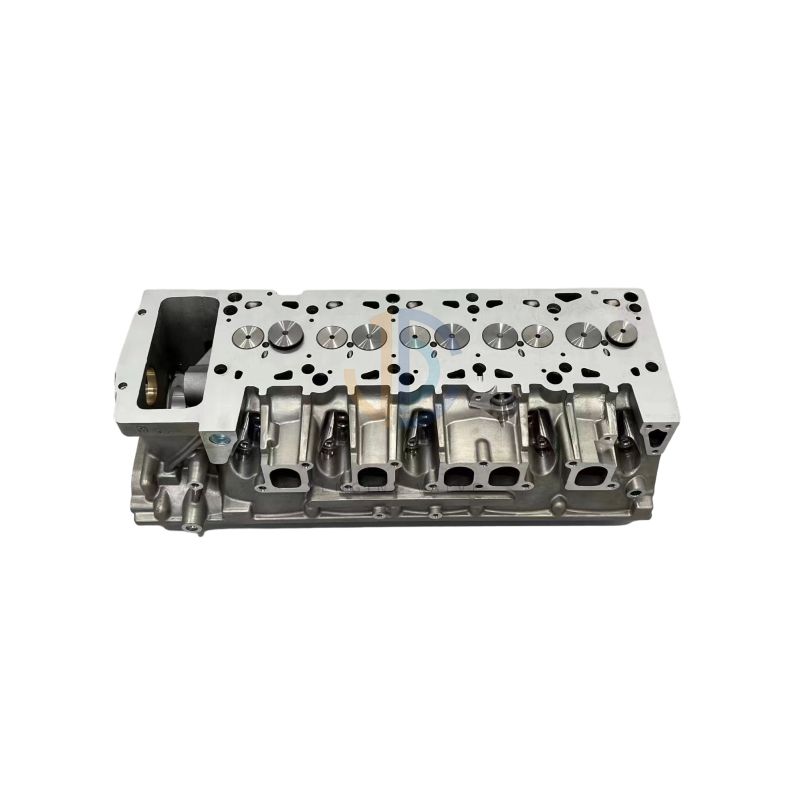
Replacing a Cylinder Head
Replacing a cylinder head is a significant and often complex automotive repair task. The cylinder head is a crucial component of an internal combustion engine, as it houses the cylinders, valves, and other critical parts that contribute to the engine's operation. When a cylinder head becomes damaged or worn out, it can lead to reduced engine performance, overheating, and even engine failure. Here's a general overview of the process for replacing a cylinder head:
1. Diagnosis and Preparation:
Begin by diagnosing the issue with the cylinder head. Common problems include cracks, warping, valve damage, or a blown head gasket. It's essential to identify the specific problem before proceeding.
Gather the necessary tools and replacement parts, which typically include a new cylinder head gasket, cylinder head bolts, and any other components specific to your vehicle's engine.
2. Safety Precautions:
Ensure the vehicle is parked on a level surface, the engine is cool, and the ignition is off.
Disconnect the battery to prevent any electrical mishaps during the repair.
3. Drain Coolant and Remove Components:
Drain the engine coolant from the radiator and engine block to prevent spills and contamination.
Remove the intake and exhaust manifolds, as well as any components obstructing access to the cylinder head.
Disconnect the wiring harness, vacuum lines, and any other connections attached to the cylinder head.

4. Remove the Cylinder Head:
Loosen and remove the cylinder head parts bolts in a specific sequence, typically starting from the center and working your way outward. This ensures even pressure release and prevents damage to the head.
Carefully lift off the old cylinder head, being mindful not to damage the mating surfaces on the engine block.
5. Clean and Inspect:
Thoroughly clean the engine block and cylinder head mating surfaces to remove any residue and ensure a proper seal with the new gasket.
Inspect the engine block and cylinder head for any signs of damage or warping. If necessary, these components may need to be machined or replaced.
6. Install the New Cylinder Head:
Carefully position the new cylinder head onto the engine block, ensuring proper alignment with the dowel pins.
Apply a thin, even layer of high-temperature silicone sealant or gasket adhesive to the new cylinder head gasket, then place the gasket onto the engine block.
Hand-tighten the cylinder head bolts in the specified sequence and torque them to the manufacturer's specifications. This is a critical step to ensure a proper seal.
7. Reassemble Components:
Reattach all components that were removed during disassembly, including the intake and exhaust manifolds, wiring harness, vacuum lines, and any other connections.
8. Refill Fluids:
Refill the engine with fresh coolant and replace the engine oil and oil filter if necessary.
9. Final Checks:
Double-check all connections and components to ensure everything is properly reinstalled.
Reconnect the battery.
10. Start and Test:
Start the engine and carefully monitor for any signs of leaks, abnormal noises, or overheating.
Perform a test drive to ensure that the vehicle's performance is normal and that there are no issues with the newly replaced cylinder head.
11. Dispose of Old Parts:
Dispose of the old cylinder head and related components in an environmentally responsible manner.
It's essential to note that replacing a cylinder head is a complex procedure that may require advanced mechanical skills and experience. If you're not confident in your abilities, it's advisable to seek professional assistance to ensure the repair is done correctly and safely. Additionally, consult your vehicle's service manual for specific instructions and torque specifications, as they can vary from one vehicle to another.
Previous: How Long Do Brake Discs Last?
If you are interested in sending in a Guest Blogger Submission,welcome to write for us!


Comments
0